

- Any Questions?
- 080-4710-6006
- engage@ipl.university
- About Us
- Programs
- School of ProductView all Product Management Programs
- Executive MBA in Product Leadership18 Months | Alternate weekends on campus
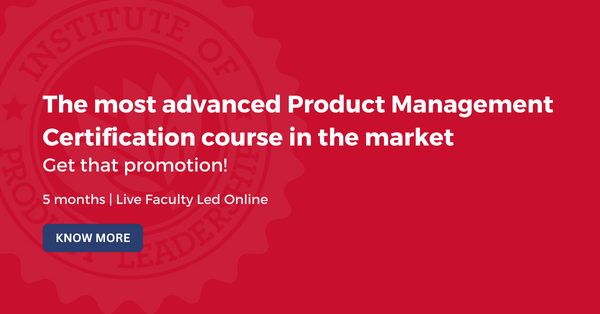
- International Certificate in Product Management5 Months | Live Faculty-Led Online
- PG Program in Product Management12 Months | Live Faculty-Led Online
- International Certificate in AI Product Management3 Months | Live Faculty-Led Online
- Certified Associate Product Manager3 Months | Live Faculty-Led Online
- International Certificate in Strategy & Leadership5 Months | Live Faculty-Led Online
- Modern Product Management Workshop2 Days | Practitioner Led In-Person
- SCHOOL OF TECHNOLOGY
- MBA in Technology Management24 Months | On Campus
- SCHOOL OF DATA SCIENCE
- Executive MBA in Data Science & Technology Management18 Months | On Campus
- MBA in Applied Data Science (Full Time)24 Months | On Campus
- SCHOOL OF DESIGN
- International Certificate in AI Product Design3 Months | Live Faculty-Led Online
- International Certificate in UX & UI Design5 Months | Live Faculty-Led Online
- MICRO CERTIFICATIONS
- School of ProductView all Product Management Programs
- Mentors
- Alumni
- Events Hub
- For Teams
- Learning Hub
- Contact Us